Why Is My Spider Plant Dying – As a resilient and popular houseplant, the spider plant has brought joy to many indoor gardeners. I have seen my share of thriving spider plants, but occasionally, I’ve encountered those that seem lifeless or unhealthy, making me wonder, “Why is my spider plant dying?”
Whether you are a seasoned gardener or new to the world of houseplants, witnessing the decline of your spider plant can be disheartening. However, with the right information and approach, you can learn how to identify the issues at hand and provide the needed care to bounce back. In this article, I will share essential solutions for dying spider plants and tips to save these beautiful, resilient greens, so you can enjoy them in your home for years to come.
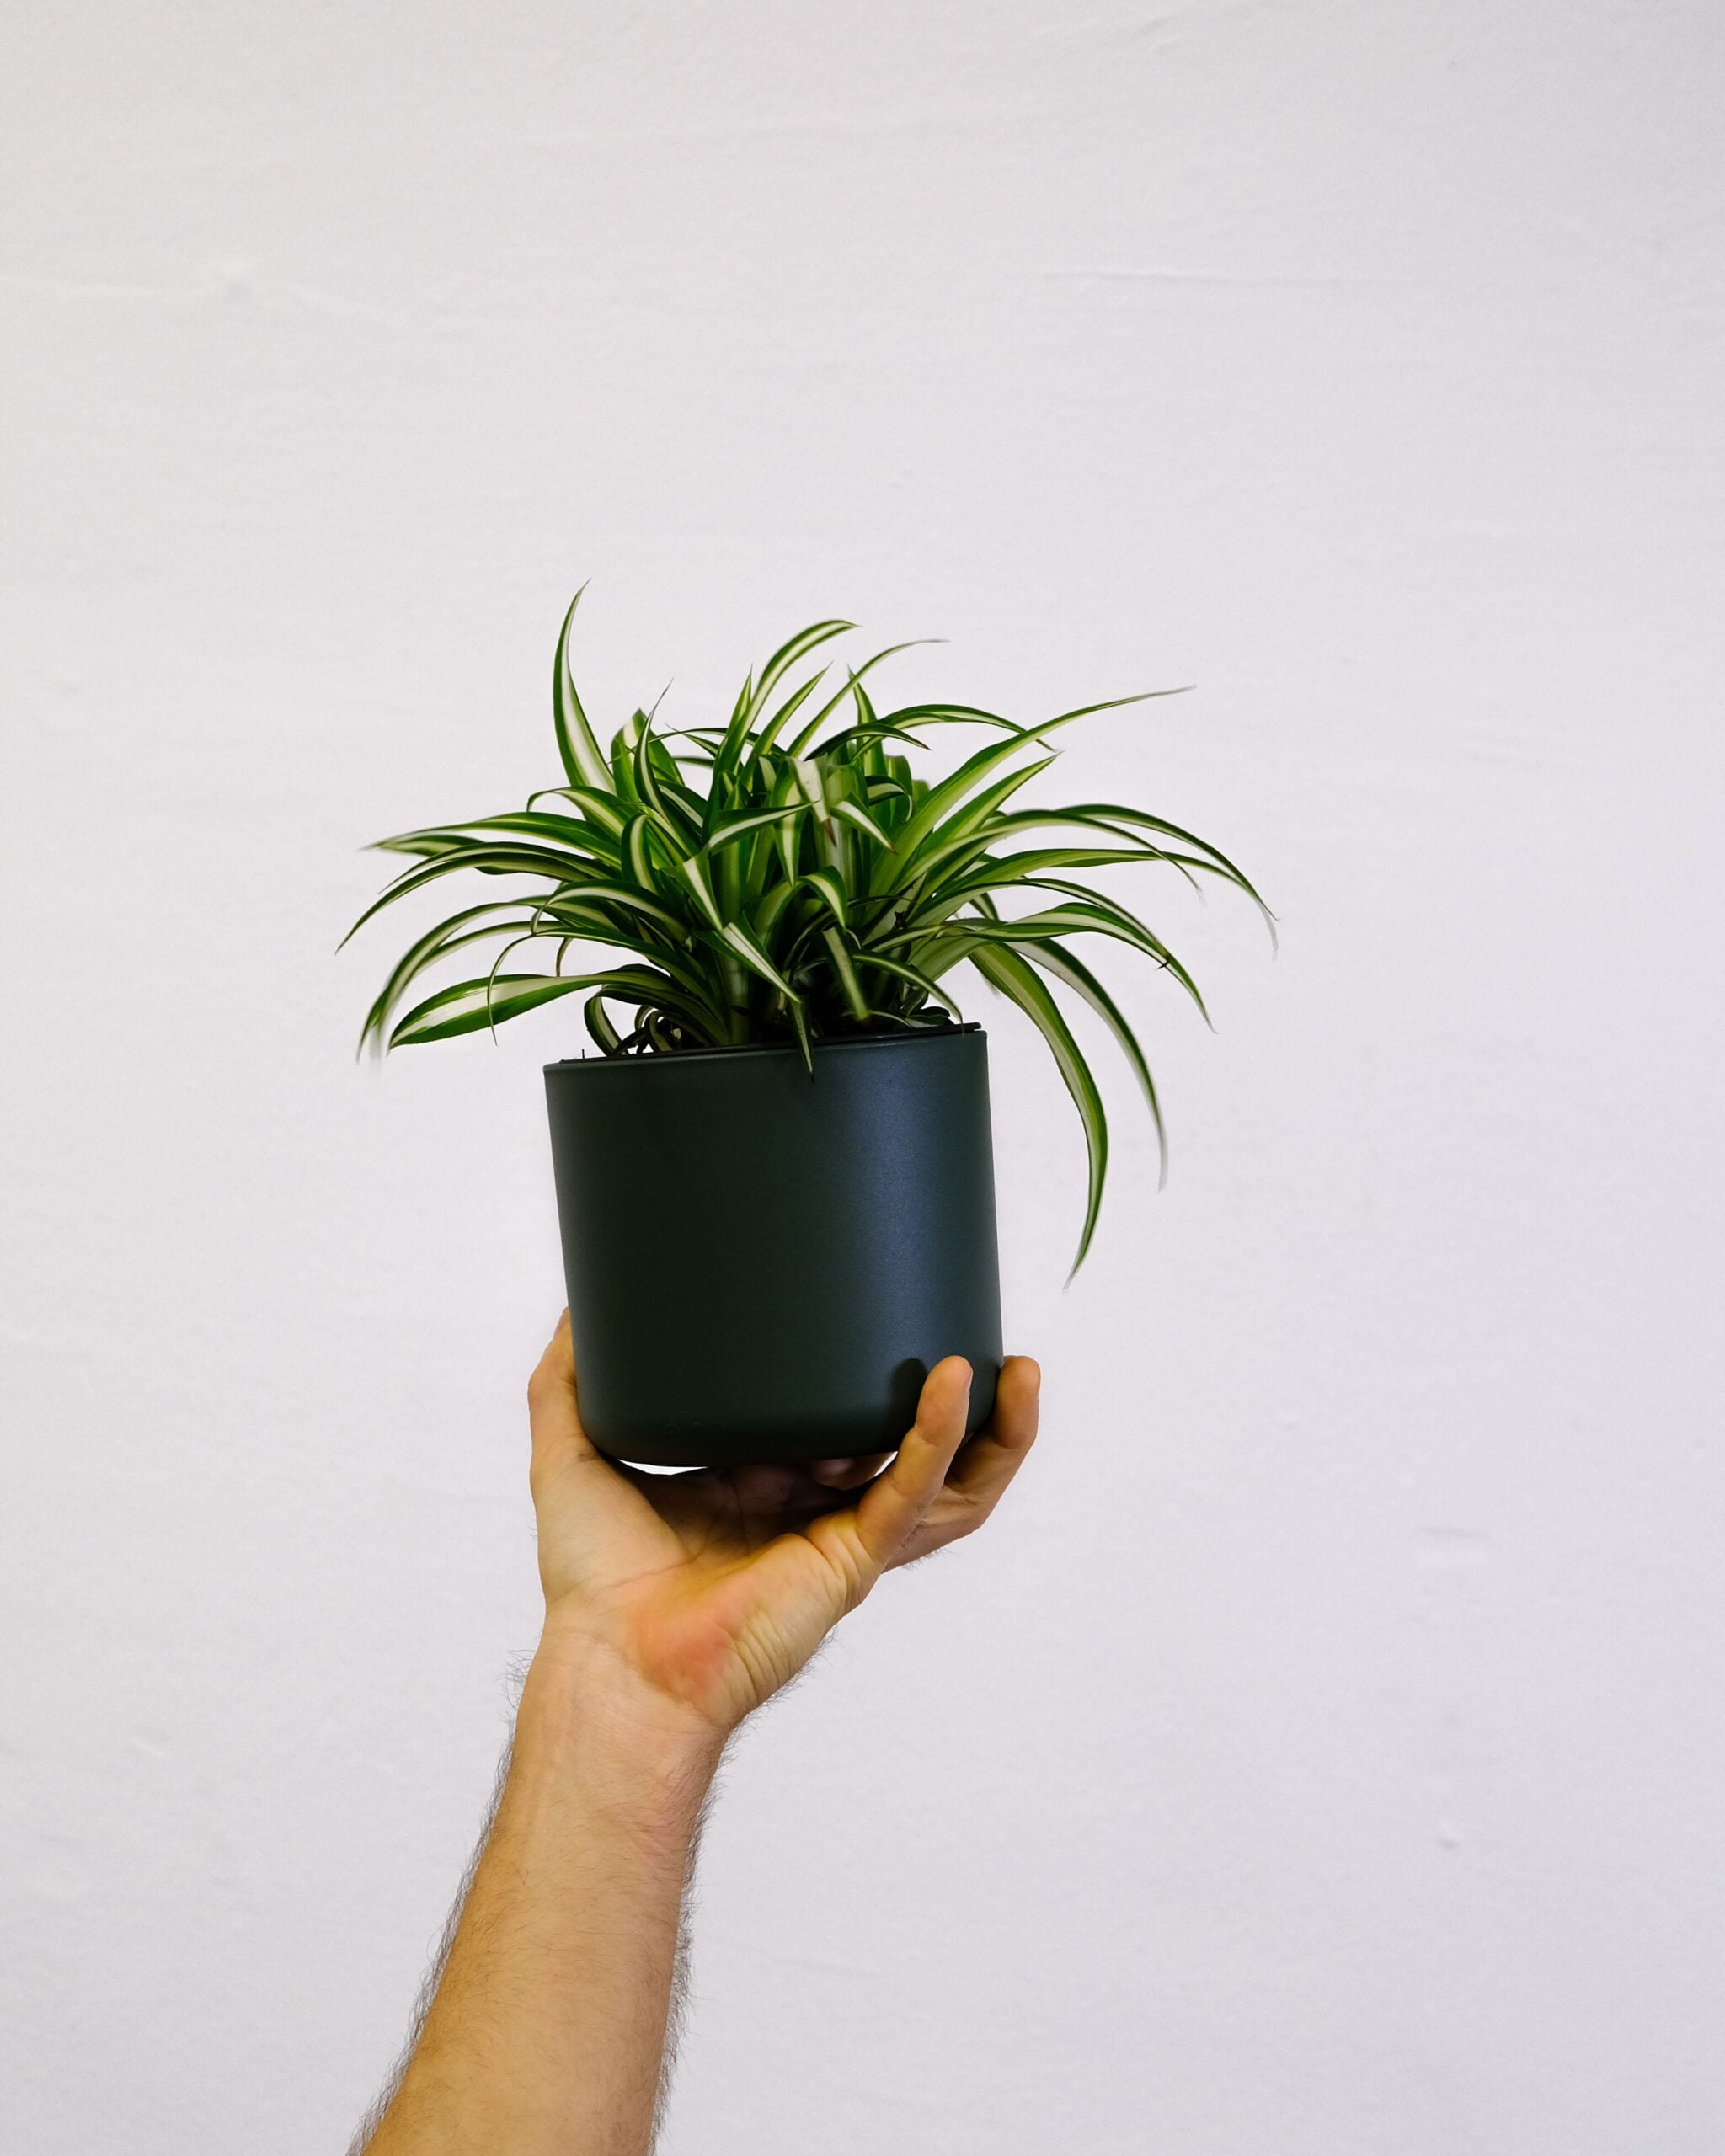
Why Is My Spider Plant Dying
Spider plants, also known as Chlorophytum comosum, are popular and resilient houseplants. They are renowned for their air-purifying abilities and attractive appearance, with their arching leaves and abundance of plantlets – or baby plants – that dangle from the mother plant. Although they are generally low maintenance, ensuring that your spider plant remains healthy requires thoughtful attention to detail and adherence to certain care guidelines.

In this section, we will introduce you to the basics of spider plant care and discuss the challenges that may arise during healthy spider plant maintenance. With the right knowledge and care practices, you can help your spider plant thrive, ensuring it continues to be a beautiful and beneficial addition to your indoor garden.
By understanding why a spider plant may experience health issues and learning how to prevent and address them, you will be better equipped to support the plant’s overall well-being. Let’s delve into the key factors that contribute to a healthy spider plant:
- Watering
- Lighting
- Nutrients
- Temperature and Humidity
- Pest Management
- Repotting and Propagation
Having a firm grasp on each of these factors will enable you to tackle any challenges that arise in your spider plant’s health. In the upcoming sections, we will delve deeper into each of these topics to equip you with the knowledge you need for successful spider plant care.
| Factors for Spider Plant Health | Considerations |
|---|---|
| Watering | Striking balance between under-watering and over-watering; monitoring for signs of root rot |
| Lighting | Providing optimal light conditions; adjusting light exposure based on the plant’s health |
| Nutrients | Identifying and addressing nutrient deficiencies |
| Temperature and Humidity | Maintaining ideal temperature and humidity levels for optimal growth |
| Pest Management | Preventing and addressing pest infestations |
| Repotting and Propagation | Repotting when necessary; selecting healthy plantlets for propagation |
As we continue through this article, we will explore each of these factors in detail, providing you with comprehensive instructions on how to overcome challenges and keep your spider plant in optimal health.
Common Symptoms of a Spider Plant in Distress
- Spider Plant Leaves Turning Yellow
- Brown Leaf Tips on Spider Plants
Concerned about your Chlorophytum comosum’s leaf color? Yellow leaves and brown tips are two common symptoms that indicate your spider plant may be in distress. Let’s explore the potential causes of these issues and learn how to address them effectively.
Spider Plant Leaves Turning Yellow
There are several reasons why the leaves on your spider plant might be turning yellow. Among the most likely causes are water quality, overwatering, or a lack of essential nutrients. The table below highlights these issues and the corresponding solutions:
| Issue | Explanation | Solution |
|---|---|---|
| Water quality | Chlorine or fluoride present in tap water can cause yellowing leaves. | Use filtered water or let tap water sit for 24 hours before watering to allow chemicals to evaporate. |
| Overwatering | Excess water can cause roots to rot and lead to yellowing leaves. | Water your spider plant only when the top inch of soil feels dry to the touch, and avoid letting it sit in standing water. |
| Nutrient deficiency | Lack of essential nutrients, particularly nitrogen, can cause leaves to turn yellow. | Fertilize your spider plant with a balanced liquid plant food once every four to six weeks during the growing season. |
Brown Leaf Tips on Spider Plants
Another common problem among spider plants is browning leaf tips. Common culprits include tap water chemicals, incorrect humidity levels, and improper feeding practices. The following is a step-by-step guide to diagnosing and correcting the cause of brown tips on your spider plant:
- Check water quality: If you’ve been using unfiltered tap water to water your plant, switch to filtered water or let the tap water sit for 24 hours before using it to eliminate chlorine and fluoride.
- Adjust humidity levels: Spider plants prefer moderate humidity levels. If your home is too dry, consider placing a tray filled with water and pebbles beneath your plant or use a humidifier in the room.
- Review feeding practices: If your spider plant’s feeding needs aren’t being met, adjust your fertilizing schedule. During the growing season, provide balanced liquid plant food once every four to six weeks.
By taking the time to evaluate and address these potential issues, you’ll be on your way to returning your spider plant to its vibrant, healthy state.
Under-Watering: A Silent Killer
While we often focus on the dangers of over-watering our spider plants, under-watering poses an equally significant threat to their well-being. This subtle yet critical issue can lead to a dying plant if not promptly addressed. Let’s learn how to identify an under-watered spider plant and find the right watering balance to save it.
To identify an under-watered spider plant, look out for the following signs:
- Leaves curling inwards
- Brown leaf tips spreading inwards
- Wilting, even after watering
- Slow growth
Maintaining proper watering practices is essential in preventing under-watering. Here are some tips on how to save an under-watered spider plant:
- Check the soil moisture before watering: Use your finger to check the soil’s moisture level. If the top inch of soil is dry, it’s time to water your spider plant. This method helps you understand when your plant actually needs water instead of following a rigid watering schedule.
- Improve soil drainage: Make sure your spider plant is planted in a well-draining mix, such as potting soil combined with peat moss or perlite. This encourages water to reach the roots and prevents water from pooling at the bottom of the pot.
- Choose the right pot: Spider plants grow best in pots with drainage holes, allowing excess water to escape and reducing the risk of over-watering and root rot. This will also help improve soil aeration, ensuring your plant receives the right amount of moisture.
- Adjust watering frequency during seasons: Increase your watering frequency during the hotter summer months, when your plant will likely require more moisture due to higher temperatures and increased evaporation. Conversely, reduce watering during the colder winter months when the plant’s growth slows down and it requires less water.
| Common Under-Watering Signs | Solutions |
|---|---|
| Leaves curling inwards | Water more frequently and monitor soil moisture |
| Brown leaf tips spreading inwards | Adjust the watering schedule and improve soil drainage |
| Wilting, even after watering | Check for root-bound plants and roots accessing water |
| Slow growth | Ensure appropriate watering, provide sufficient light, and inspect for pests or diseases |
Regularly monitoring your spider plant’s health and adjusting your care practices accordingly can help prevent under-watering issues. Remember that consistency and close observation are crucial in maintaining a healthy and beautiful plant.
Over-Watering and The Risk of Root Rot
Although spider plants are known for their hardiness, over-watering can pose a significant threat to their health. Excessive water can lead to root rot, a fungal disease that affects the roots and can eventually kill the plant. In this section, we will discuss the signs of root rot and how to prevent water-related issues in your spider plant.
Signs of Spider Plant Root Rot
It is essential to catch the early signs of root rot before it’s too late. Some common symptoms to watch for include:
- Wilting leaves, even when the soil is wet
- Yellowing leaves, which may turn brown as the condition worsens
- Foul smell emanating from the plant’s base
- Mushy or black roots when removed from the pot

If you suspect that your spider plant might be suffering from root rot, take action immediately by removing it from the pot and trimming away any affected roots. Replant your spider plant in fresh, well-draining soil and keep an eye on its watering needs.
Preventing Water-Related Issues
To prevent root rot and other water-related problems in your spider plant, follow these watering tips:
- Use well-draining soil: Opt for a mix that contains peat moss, perlite, or vermiculite to ensure proper drainage and aeration for roots.
- Water only when necessary: Check your spider plant’s soil before watering. If the top inch is dry, it’s time to water. If not, wait a few more days and check again.
- Watch for signs of over-watering: Look for yellow leaves, brown tips, or wilting as these may indicate that your spider plant might be receiving too much water.
| Watering Tips | Description |
|---|---|
| Use well-draining soil | Choose a mix that contains peat moss, perlite, or vermiculite to ensure proper drainage and aeration for roots. |
| Water only when necessary | If the top inch of soil feels dry to the touch, it is time to water your spider plant. If the soil is still moist, wait a few more days before watering. |
| Watch for signs of over-watering | Yellow leaves, brown tips, or wilting may be signs that your spider plant is getting too much water. Adjust your watering routine accordingly. |
By taking these preventive measures, your spider plant should be well-equipped to handle minor challenges and remain healthy. Remember to monitor your plant’s needs, adjusting your care routine as needed to avoid over-watering and subsequent root rot.
The Importance of Proper Lighting for Spider Plant Growth
Choosing the right lighting conditions to support a healthy spider plant is crucial. Indeed, proper spider plant lighting is one of the key aspects of maintaining a thriving plant. It is essential to understand the different factors affecting various lighting scenarios and how they can impact your spider plant’s health. This way, you will be better equipped to provide the proper light for your spider plant to grow and flourish.
Spider plants typically prefer bright, indirect sunlight. However, they can tolerate low light conditions as well. Going forward, let’s explore different lighting options and how to create optimal lighting exposure for your spider plant.
- Direct sunlight exposure: While spider plants can handle a little bit of direct sunlight, it’s usually best to avoid exposing them to harsh, direct sunlight for extended periods, as this can damage their leaves.
- Indirect sunlight exposure: Aim to provide your spider plant with bright, indirect sunlight for best results. Place your plant near a window with filtered light or where it can bask in the gentle rays for several hours per day.
- Low light exposure: If receiving adequate natural sunlight is a challenge, don’t worry. Spider plants can still survive in lower light conditions, although their growth may be slower than if they received brighter light.
- Artificial lighting: A viable alternative to natural light is using grow lights or fluorescent lights to provide proper light for your spider plant. Keep the lights a few inches away from the plant and maintain a regular light schedule of 12-16 hours per day for optimal growth.
Now that you have a better understanding of spider plant lighting requirements, the table below shows a summary of the different lighting scenarios for easy reference:
| Lighting Condition | Description | Spider Plant Lighting Preference |
|---|---|---|
| Direct sunlight exposure | Direct exposure to harsh sunlight | Not recommended |
| Indirect sunlight exposure | Close proximity to windows with filtered light | Highly recommended |
| Low light exposure | Minimal access to natural light | Tolerable, but can slow down growth |
| Artificial lighting | Use of grow lights or fluorescent lights | Viable alternative for proper light |
In conclusion, finding the proper light for your spider plant is essential to ensure its overall health and well-being. Evaluate your home’s lighting conditions and adjust your spider plant placement accordingly to create a suitable environment for it to thrive and grow. Paying attention to these details will help maintain and nourish a healthy and vibrant spider plant for years to come.
Nutrient Deficiencies Impacting Your Spider Plant
Nutrient deficiencies in spider plants can have a significant impact on their overall health and appearance. By identifying spider plant nutrient shortages effectively and taking the right corrective steps, you can provide your spider plant with the optimal conditions for thriving.
Identifying Nutrient Shortages
Common nutrient deficiencies in spider plants include nitrogen, phosphorus, and potassium. Each deficiency may manifest differently in the plant’s appearance. Here is a breakdown of the symptoms associated with these deficiencies:
| Nutrient | Symptoms |
|---|---|
| Nitrogen |
|
| Phosphorus |
|
| Potassium |
|
To pinpoint the specific deficiency your spider plant may be experiencing, closely observe the unique symptoms mentioned in the table. Once you’ve identified the nutrient shortage, you can take corrective action.
To address nitrogen deficiencies, you can use a balanced liquid fertilizer or add a slow-release granular fertilizer containing nitrogen to the soil. However, be sure not to over-fertilize your spider plant, as this may lead to salt buildup in the soil and cause leaf-tip burn.
For phosphorus deficiency, try incorporating a high-phosphorus fertilizer into your spider plant’s care routine. Using a water-soluble formulation can aid in its rapid absorption and quicker recovery.
Potassium deficiencies can be amended by using a potassium-rich fertilizer. Be sure to follow the recommended application rate on the product instructions to avoid over-application.
In addition to addressing these specific deficiencies, it’s essential to maintain an overall balanced fertilizer regimen for your spider plant. Regular fertilizing every four to six weeks during the growing season will provide your spider plant with essential nutrients for optimal growth.
Temperature and Humidity: Their Role in Plant Health
Temperature and humidity are essential factors for the growth and well-being of spider plants. Understanding the ideal Spider Plant Temperature Needs and Humidity for Spider Plants can greatly improve the health of your plant. In this section, we will discuss how temperature fluctuations and humidity impact your spider plant and provide guidelines for creating optimal conditions for your plant’s health.
Ideal Temperature Range for Spider Plants
Spider plants prefer a daytime temperature range between 65°F and 75°F, while their ideal nighttime temperature range is from 55°F to 65°F. Although these plants can tolerate temperatures as low as 50°F, they may experience slowed growth and potential damage when exposed to temperatures below this threshold.
Protect your spider plant from extreme temperature changes by placing it away from drafts, air conditioning vents, and heating sources. Gradual and minor fluctuations in temperature are less likely to harm the plant but should be managed if possible.
Importance of Humidity for Spider Plants
Humidity plays a vital role in spider plant health. While they are quite adaptable, spider plants do best in moderate to high humidity levels, around 40-50%. Low humidity can cause the leaf tips to turn brown and may affect their overall health.
Here are a few tips to help maintain proper humidity levels for your spider plant:
- Group your spider plant with other plants, as they naturally release moisture through transpiration.
- Place a tray of water with pebbles beneath the spider plant. This will create a microclimate where humidity can rise.
- Regularly mist your spider plant with a water bottle, ensuring you give it ample time to dry between mistings to prevent issues such as fungal infections.
- Consider investing in a humidifier to maintain consistent humidity levels, especially during winter months when indoor air tends to be drier.
Considering Environment and Seasonal Changes
It is essential to consider your environment and any seasonal changes that may affect the temperature and humidity in your home. The table below outlines adjustments and actions to take during times of temperature or humidity fluctuations.
| Environment/Season | Actions to Take |
|---|---|
| Warm and Humid |
|
| Warm and Dry |
|
| Cool and Humid |
|
| Cool and Dry |
|
By understanding the importance of temperature and humidity for spider plants, you can create a far more optimal environment for their growth and overall health. Monitoring these factors and making adjustments as necessary will help ensure your plant thrives for years to come.

How Pest Infestations Affect Spider Plants
Spider plants are generally low-maintenance plants, but they are still susceptible to pest infestations. An infestation can cause significant damage, hindering the plant’s growth and overall health. In this section, we will discuss the different types of pests that can attack spider plants, how to identify their presence, and effective methods to treat and prevent infestations.
Common Pests Targeting Spider Plants
There are several pests that can infest spider plants, and early detection is crucial to save your plant from significant damage. Here are the most common pests that can target spider plants:
- Spider mites
- Aphids
- Mealybugs
- Whiteflies
- Scale insects
Spider mites are tiny, almost invisible pests that can cause yellowing and browning of leaves. Aphids are small, green, or black insects that feed on plant sap, causing leaves to curl and become discolored. Mealybugs are white, cotton-like pests that also feed on plant sap, causing leaves to yellow and wither. Whiteflies are tiny white insects that leave a sticky residue on leaves and can cause them to wilt. Scale insects appear as small, oval-shaped, brown or white bumps on leaves and stems. They also feed on sap and weaken the plant.
Dealing with Pest Problems
Once you have identified the presence of pests on your spider plant, adopting proper treatment strategies will help eliminate them and promote your plant’s recovery. Here are some effective measures to deal with infestations:
- Manual removal: In the early stages of infestation, you can often remove some pests manually. Use a cotton swab dipped in rubbing alcohol to remove mealybugs, scale insects, and aphids from leaves and stems.
- Water spray: A strong stream of water can dislodge spider mites, aphids, and whiteflies. Spray your spider plant’s foliage with water outdoors or in a sink, and repeat the process as needed.
- Neem oil or insecticidal soap: If the infestation is severe, you might consider using a commercial pesticide. Neem oil and insecticidal soap can be effective against a majority of pest species. Follow the application instructions provided by the manufacturer to ensure safety and effectiveness.
- Predatory insects: Consider introducing natural predators, such as ladybugs or lacewings, to help control pest populations. However, ensure that these predators are compatible with your local ecosystem to avoid negative consequences.
- Preventive measures: Regularly inspect your spider plant for signs of pests and immediately quarantine new plants for a few weeks before adding them to your plant collection. Keep your plant healthy by providing proper care, as healthy plants are more resistant to pest infestations.
In conclusion, early detection, appropriate treatment, and preventive measures are crucial to keep your spider plant free from damaging pest infestations. By addressing these issues promptly, you can ensure the health and longevity of your beloved spider plant.

Repotting: When and How to Do It Right
When your spider plant outgrows its current container, it will experience various growth issues and likely become root-bound. Repotting is crucial to ensuring the healthy development of a spider plant, providing it with more space and nutrients to thrive. In this section, I will explain the process of repotting your spider plant and share key tips to minimize stress on your plant.
When should you repot your spider plant?
- The roots are growing out of drainage holes in the bottom of the container.
- Water is draining too quickly from the container.
- Your plant is showing signs of stress or slowed growth despite proper care.
How to repot your spider plant:
- Choose a new container: Select a pot that is one to two sizes larger than the current one, with drainage holes to prevent waterlogging.
- Prepare your materials: Gather a high-quality, well-draining potting mix, your new container, and a clean towel to lay your plant on during the process.
- Remove the plant from its current pot: Gently tip the container to loosen the root ball, and slide the spider plant out. If it is stubborn, use a butter knife to loosen the plant from the sides of the pot.
- Inspect and trim the roots: Assess your spider plant’s roots for signs of decay, such as a mushy or rotting appearance. Trim away any damaged or dead roots with a clean, sharp pair of scissors.
- Position your spider plant in the new container: Place a layer of fresh potting mix in the bottom of the new pot, then position the root ball in the center. Ensure that it is sitting at the same depth as it was in the original pot.
- Fill with potting mix: Add potting mix around the root ball to secure the plant in place. Press down lightly to eliminate air pockets and create a stable base for your spider plant.
- Water thoroughly: Thoroughly water your repotted spider plant to help the soil settle and decrease any repotting stress.
| Repotting Step | Description |
|---|---|
| Choose a new container | Select a pot one to two sizes larger than the current one with drainage holes |
| Prepare your materials | Gather potting mix, new container, and clean towel |
| Remove the plant | Loosen the root ball and slide the plant out of its old pot |
| Inspect and trim roots | Check for decay and trim away dead or damaged roots |
| Position in the new container | Add potting mix to the bottom, place the root ball and maintain original depth |
| Fill with potting mix | Add mix around the root ball, press gently to eliminate air pockets |
| Water thoroughly | Water the repotted spider plant to help soil settle and alleviate stress |
By following these steps on how to repot spider plants, you can ensure a smooth transition for your plant as it continues to grow and establish itself in the new environment. Always keep an eye on your spider plant after repotting and adjust care as needed to promote its health and vitality.
Spider Plant Propagation: Tips for Successful Growth
Propagating spider plants is an excellent way to grow new plants from your existing one, especially if you want to share your love of spider plants with friends and family. However, the key to successful propagation is choosing healthy plantlets to grow into their own, thriving plants. In this section, we will discuss the importance of selecting robust plantlets and offer tips for successfully growing them into mature spider plants.
Choosing Healthy Plantlets for Propagation
The first step in spider plant propagation is identifying the plantlets or offshoots that show potential for successful growth. Healthy plantlets have the best chance of survival and growth, so it’s worth taking the time to select the strongest candidates. Here are some traits to look for when choosing spider plantlets:
- Healthy foliage: Look for plantlets with vibrant, green leaves, as this is a sign of good health. Avoid any plantlets with brown, yellow, or wilted leaves.
- Developed roots: A healthy plantlet will have a small cluster of roots at its base. These roots are essential for successful propagation, as they help the plantlet establish itself in the new growing medium.
- Size: Larger plantlets are more mature and have a higher chance of success when propagated. Aim for plantlets that are at least 2 inches in length.
Once you have identified the healthiest plantlets, gently snip them off from the parent plant using clean, sharp scissors.
| Trait | Healthy Plantlet | Unhealthy Plantlet |
|---|---|---|
| Foliage | Green and vibrant | Brown, yellow, or wilted |
| Roots | Developed and visible | Underdeveloped or absent |
| Size | At least 2 inches | Smaller than 2 inches |
After selecting the best plantlets for propagation, follow these successful growing tips:
- Planting medium: Use a well-draining potting mix, as this will promote healthy root development. A mix containing peat moss, perlite, or vermiculite is ideal.
- Container: Choose a pot with drainage holes to prevent excess water from accumulating and causing root rot. A 4-inch pot is perfect for a newly propagated plantlet.
- Watering: Keep the planting medium consistently moist but never soggy. Water the plant when the top inch of soil feels dry to the touch.
- Light: Provide bright, indirect light for the newly propagated plantlet, as this will encourage strong growth.
- Patience: Spider plant propagation is generally straightforward, but it can take a few weeks for the plantlet to establish itself and begin producing new growth. Be patient and give it time to thrive.
By carefully choosing healthy plantlets and following these tips, you can maximize your chances of successful spider plant propagation, leading to an abundance of thriving, new plants.
Conclusion
Throughout this article, we’ve examined various factors that can lead to a dying spider plant and offered solutions for reviving it. By understanding the potential causes, such as under-watering or over-watering, nutrient deficiencies, lighting, and pest infestations, you are better equipped to intervene and restore your beloved plant to health.
Implementing proper care practices, as discussed in this article, can prevent future issues and ensure your spider plant thrives. Remember the importance of regular but not excessive watering, adequate lighting conditions, balanced nutrients, and maintaining the right temperature and humidity.
In conclusion, don’t lose hope if you find your spider plant showing signs of distress. By reviving your dying spider plant and paying attention to its needs, you can effectively restore its vigor and enjoy the benefits of a lush, healthy spider plant for years to come.
Also read