
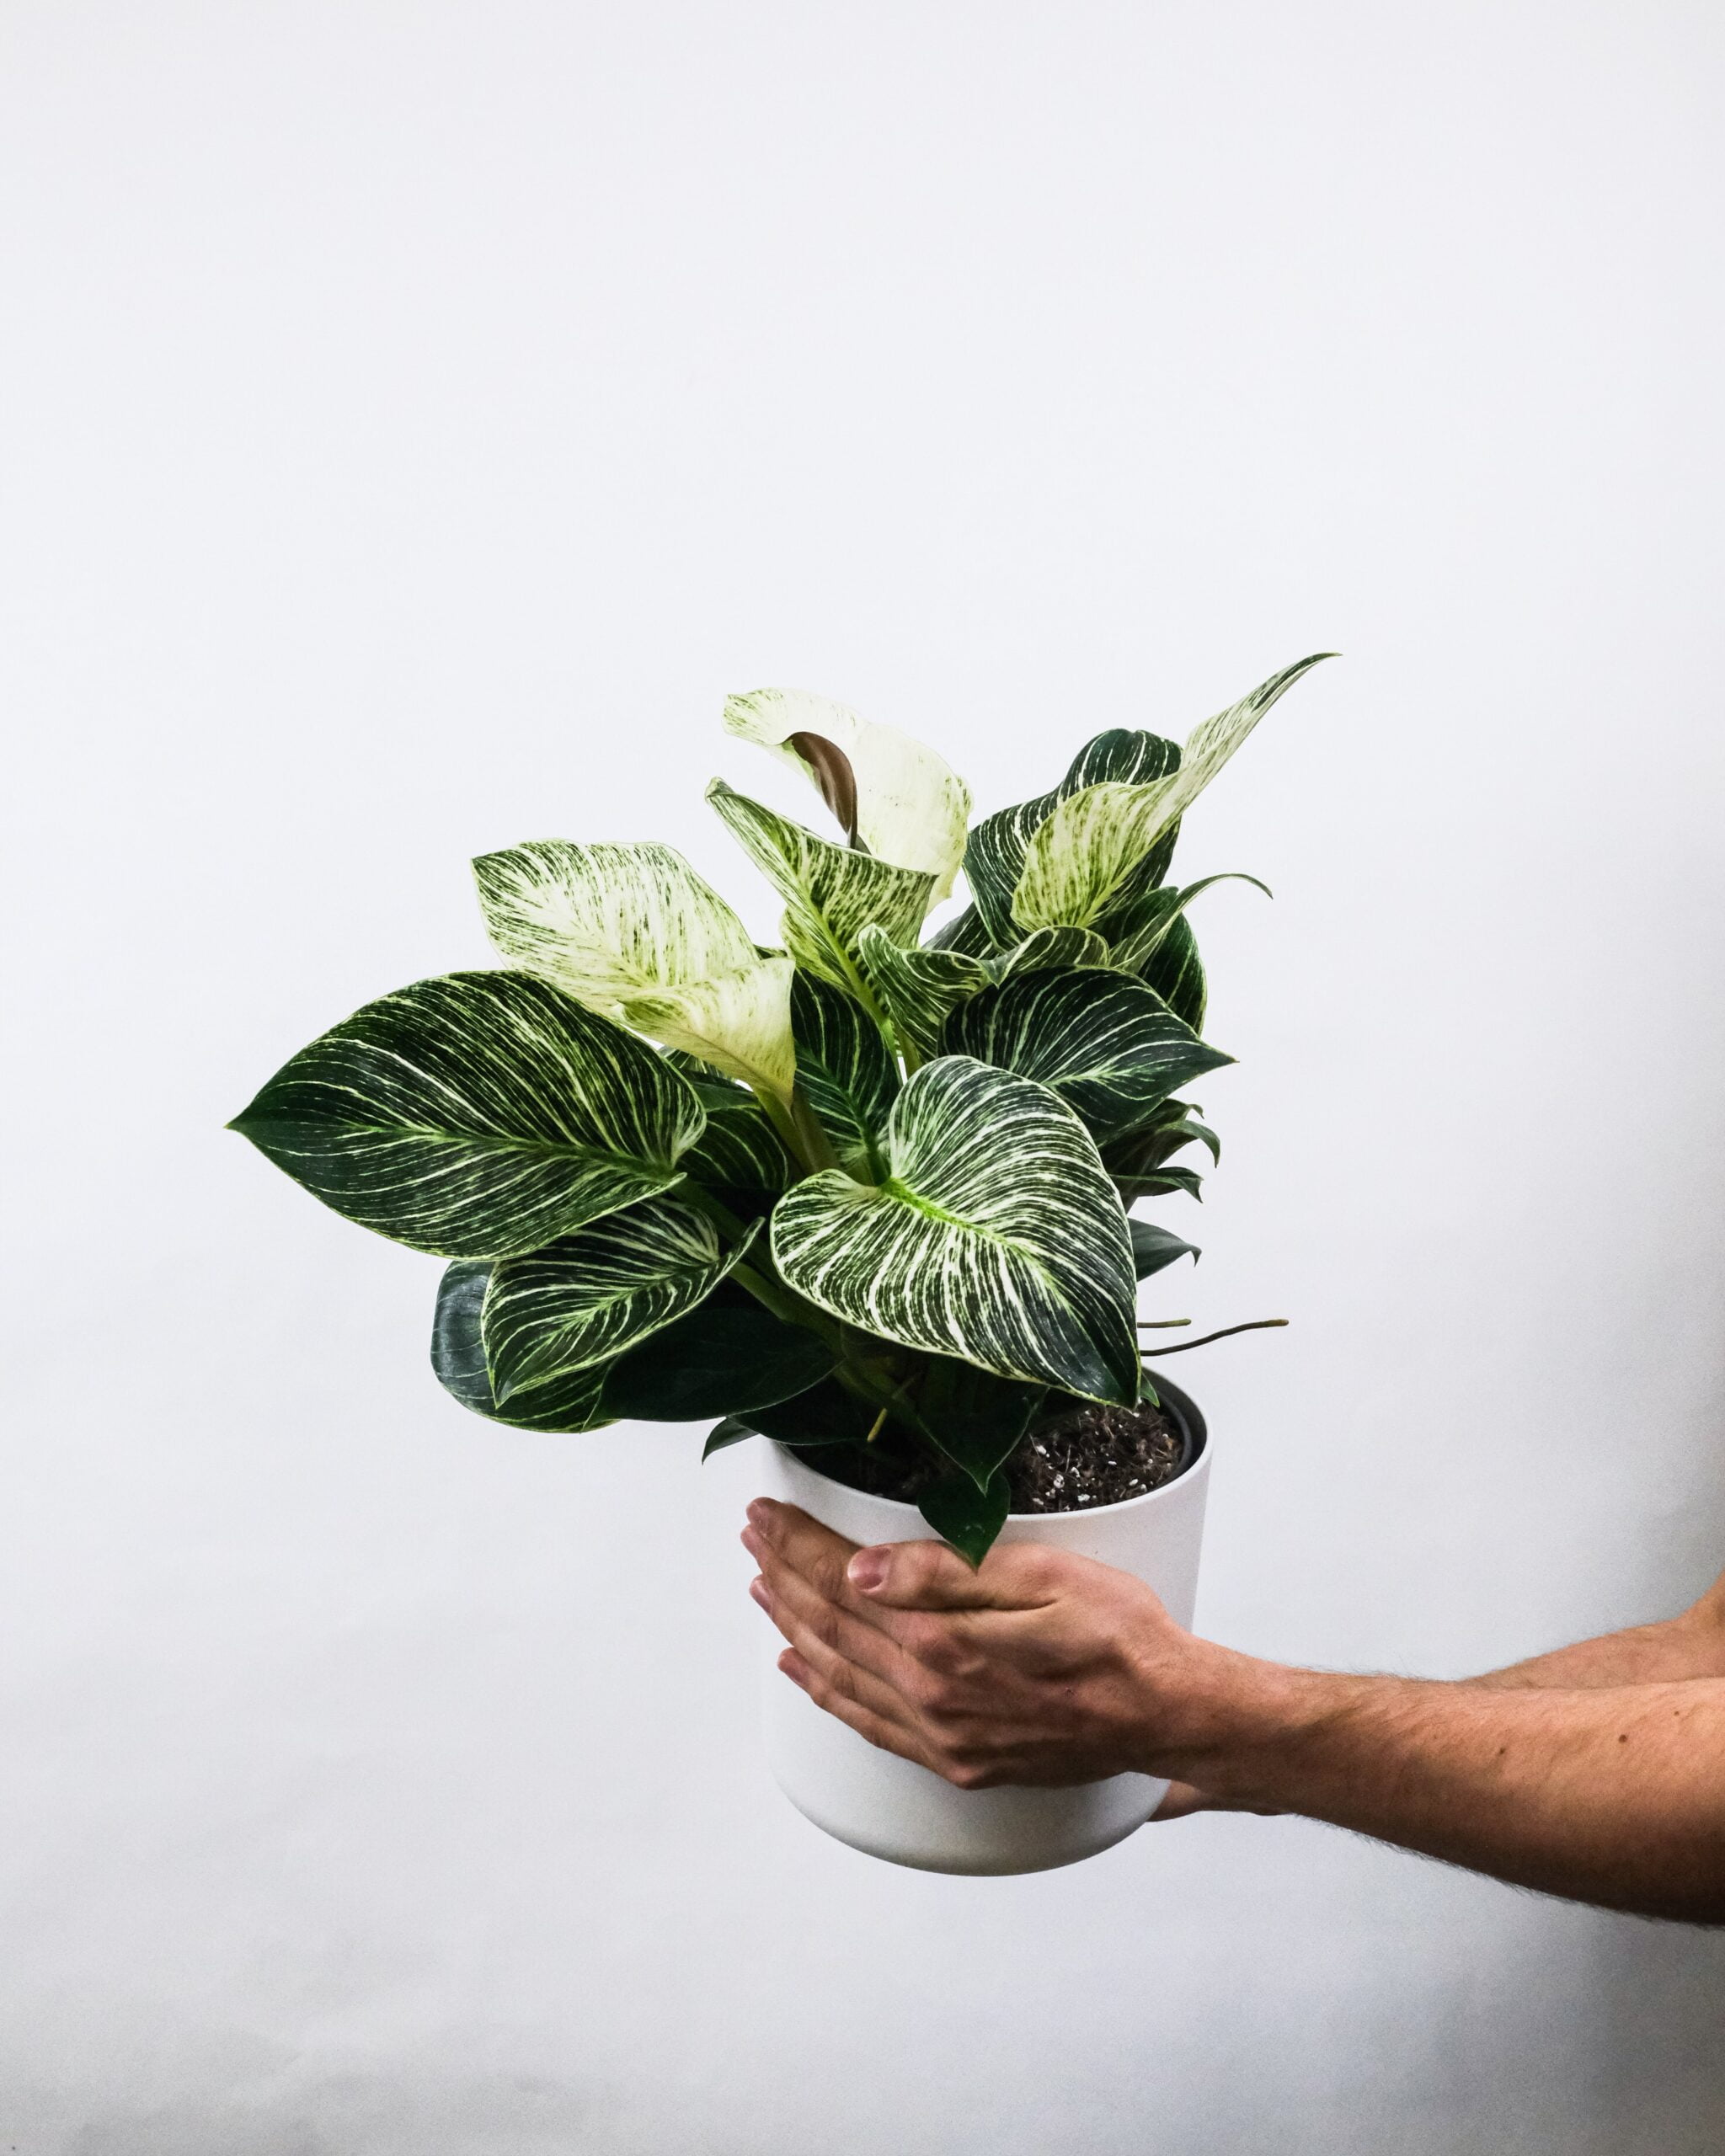
How to Propagate a Philodendron Birkin – Are you looking to expand your indoor garden collection with a stunning Philodendron Birkin? This popular plant is not only visually appealing but can also improve the air quality in your home. Propagating your Philodendron Birkin can be a great way to grow your collection and share the beauty of this plant with friends and family.
In this section, I will guide you through the process of propagating a Philodendron Birkin successfully. Understanding the methods and techniques for propagation, best practices, and potential mistakes to avoid are essential to ensure the growth and health of your newly propagated plant.
Are you ready to learn how to propagate a Philodendron Birkin? Let’s get started!
How to Propagate a Philodendron Birkin
If you’re looking to expand your indoor garden, propagating Philodendron Birkin plants can be a satisfying and economical way to do so. Fortunately, there are several methods of propagating these plants, each with its own advantages and disadvantages.
Methods of Propagating Philodendron Birkin
The three most common methods of propagating Philodendron Birkin are stem cutting, division, and air layering.
| Propagation Method | Description |
|---|---|
| Stem Cutting | This method involves taking a cutting from the stem of an established Philodendron Birkin plant and rooting it in water or soil. |
| Division | This method involves separating an established plant into several smaller ones, each with their own roots and stems. Division is a good option for well-established plants with multiple stems and a dense root system. |
| Air Layering | This method involves creating a small wound on a stem, applying rooting hormone, and then wrapping the stem in moist sphagnum moss and plastic wrap. Over time, roots will form and a new plant can be separated from the mother plant. |
Each of these methods has its own advantages and disadvantages, and the best option may depend on your personal preferences and the resources available to you.
Advantages and Disadvantages of Philodendron Birkin Propagation Methods
Stem cutting is the most common method of propagating Philodendron Birkin and is relatively easy to do. However, it can take several weeks for the cutting to root and begin to grow. Division is a good option for larger plants, but can be challenging for smaller ones with fewer stems. Air layering can be a bit more difficult, but is a good option for larger plants or those with tough stems.
Before choosing a propagation method, consider factors such as the health and size of the mother plant, the time and resources available to you, and your own personal preferences and skills.
Step-by-Step Guide to Philodendron Birkin Propagation
Propagating a Philodendron Birkin can be a fun and rewarding experience. In this section, I will provide you with a detailed guide on how to propagate this plant successfully, step-by-step.
Selecting Stems
The first step in propagating a Philodendron Birkin is to select the right stems. Look for a healthy, mature plant, and identify stems that have at least three leaves. Avoid stems that are too young or too old, as they may not root well.
Preparing Cuttings
Once you have selected the stems, you need to prepare the cuttings. Use a clean, sharp knife or pruning shears to make a clean cut just below a node, which is a small bump on the stem where leaves grow. Cut the stem at a 45-degree angle to maximize the surface area for rooting. Remove any leaves from the bottom one-third to one-half of the stem so that only a few leaves remain at the top. This ensures the stem’s energy goes to rooting, rather than supporting leaves that may wilt.
Rooting the Cuttings
After preparing the cuttings, you can root them in water or soil. If rooting in water, place the cuttings in a container filled with water, making sure the bottom one-third to one-half of the stem is submerged. Change the water every few days to prevent bacterial growth. If rooting in soil, use a well-draining potting mix and make a hole with a pencil or your finger to insert the stem. Keep the soil moist but not waterlogged.
Caring for Newly Rooted Plants
Once the cuttings have rooted, you can transfer them to their permanent container. If rooted in water, gently remove the cutting, being careful not to damage the fragile roots. If rooted in soil, wait until the roots are well established before transplanting. Keep the newly propagated plant in a bright, indirect light setting, and water it regularly. Be patient, as it may take several weeks to see new growth.
Congratulations! You have successfully propagated a Philodendron Birkin plant. Next, read on for best practices on how to care for your newly propagated plant.
Best Practices for Philodendron Birkin Propagation

Propagating a Philodendron Birkin can be a rewarding experience, but it requires care and attention to ensure successful growth. Here are some best practices to follow:
1. Start with healthy parent plants: The health and vigor of the parent plant will dictate the quality of the cutting you take. Pick a mature, healthy philodendron birkin plant to ensure the successful propagation of its cuttings.
2. Use sterilized tools: Keeping your equipment sanitized is crucial to prevent the spread of diseases and fungi to the plant. Dip your tools in rubbing alcohol or a bleach solution before making the cuttings.
3. Cut the stem at a 45-degree angle: This angle allows the cutting to absorb water and nutrients more efficiently. Cut above the node, where the leaf meets the stem.
4. Remove extra leaves: Extra leaves will only put stress on the cutting, making it difficult for it to grow roots. Remove the bottom leaves and any extra leaves from the cutting.
5. Dip the cuttings in rooting hormone: Rooting hormone will help the cuttings develop roots, promoting successful propagation. Dip the cuttings in rooting hormone powder before placing them in the propagation medium.
6. Choose the right propagation medium: Selecting the right medium is crucial to the success of your propagation. You can use soil, water, or a mix of both for your cuttings. Make sure to use a well-draining medium to prevent root rot.
7. Keep the cuttings warm and humid: Philodendron Birkin cuttings thrive in warm and humid environments. Covering them with a plastic bag or placing them in a greenhouse or terrarium can help maintain the right conditions for successful propagation.
8. Water sparingly: Overwatering can lead to root rot and other issues that can prevent successful propagation. Water sparingly and only when the propagation medium is dry to the touch.
Following these best practices can help increase your chances of propagating a successful Philodendron Birkin plant. Remember to stay patient and attentive to your cuttings’ needs to ensure their healthy growth.
Propagation Mediums for Philodendron Birkin
When it comes to propagating a Philodendron Birkin, choosing the right propagation medium can be crucial for success. There are several options available, each with its own advantages and disadvantages.
Soil
Soil is a common medium used for propagating Philodendron Birkin plants. It provides nutrients and stability to the cuttings, helping them establish roots and grow into healthy plants. It is important to use a well-draining soil mix that contains perlite or vermiculite to prevent waterlogging and root rot.
Water
Water propagation is a popular method for propagating Philodendron Birkin plants, especially for beginners. It involves placing the cuttings in a container of water, allowing them to develop roots before transferring them to soil. While this method can be effective, it is important to change the water regularly and avoid overcrowding the cuttings, which can lead to fungal or bacterial growth.
Vermiculite
Vermiculite is a lightweight, sterile medium that can be used for propagating Philodendron Birkin plants. It provides excellent aeration and water retention, promoting healthy root growth. However, it can be difficult to find and can be expensive compared to other mediums.
Sphagnum Moss
Sphagnum moss is a natural medium that can be used for propagating Philodendron Birkin plants. It is highly absorbent and provides a moist environment for the cuttings to develop roots. However, it is important to ensure that the moss remains damp but not waterlogged, which can cause root rot.
Air Layering
Air layering is a propagation technique that involves creating a small root ball on the stem of the plant while it is still attached to the mother plant. This method can be highly effective, but requires patience and skill. It is important to use a rooting hormone and keep the area moist to encourage new root growth.
Ultimately, the best propagation medium for your Philodendron Birkin plants will depend on your personal preferences and the resources available to you. It is important to experiment with different methods to find the one that works best for you and your plants.
Common Mistakes to Avoid in Philodendron Birkin Propagation

While propagating Philodendron Birkin plants can be a rewarding and satisfying experience, it’s important to avoid some common mistakes to ensure successful propagation. Here are some of the best practices for Philodendron Birkin propagation that you should keep in mind:
- Not using sharp, clean tools: When taking cuttings from a Philodendron Birkin plant, it’s important to use clean, sharp tools to avoid damaging the stems. Dirty or dull tools can introduce bacteria or other pathogens that can harm the plant.
- Propagating during the wrong season: Propagating a plant during the wrong season can affect its growth and development. The best time to propagate a Philodendron Birkin plant is during the spring or summer when the plant is actively growing.
- Overwatering: While it’s important to keep the soil or medium moist during propagation, overwatering can lead to root rot and other problems. It’s crucial to avoid waterlogged soil or standing water in the container.
- Not providing enough light: Philodendron Birkin plants require bright, indirect light to thrive. Failing to provide enough light during propagation can result in weak, spindly growth or no growth at all.
- Not controlling humidity: Philodendron Birkin plants prefer a humid environment, but high humidity levels can promote fungal growth and other issues. It’s essential to maintain a consistent humidity level of around 50-60% during propagation.
- Skipping the rooting hormone: A rooting hormone can help stimulate root development and increase the chances of successful propagation. Failing to use a rooting hormone can result in slow or failed root growth.
By following these best practices for Philodendron Birkin propagation, you can avoid common mistakes and ensure successful growth of your newly propagated plants.
Caring for Newly Propagated Philodendron Birkin Plants
Proper care is essential for the successful growth of newly propagated Philodendron Birkin plants. Here are some best practices to follow:
- Watering: Water your newly propagated plant regularly, but be sure not to overwater it. The soil should be moist, but not soggy. You can check the soil’s moisture level by sticking your finger about an inch deep into the soil. If it feels dry, it’s time to water.
- Fertilizing: Newly propagated plants don’t need fertilizer for the first few weeks. Once they’ve grown a bit, start fertilizing them with a balanced, water-soluble fertilizer every two weeks.
- Temperature and Humidity: Philodendron Birkin plants prefer temperatures between 65-80°F and humidity levels between 40-60%. You can increase humidity levels by misting the leaves or placing a small humidifier near the plant.
- Light: Philodendron Birkin plants prefer bright, indirect light. Place them near a window that doesn’t receive direct sunlight, or use a grow light if there’s not enough natural light.
- Pruning: Regular pruning will help your Philodendron Birkin plant grow fuller and bushier. Pinch off the tips of new growth to encourage side shoots and remove any yellow or dead leaves.
By following these best practices, you’ll ensure that your newly propagated Philodendron Birkin plant thrives and grows into a beautiful addition to your indoor garden.
Troubleshooting Common Issues in Philodendron Birkin Propagation
Propagating Philodendron Birkin can be a rewarding experience, but it can also come with its fair share of challenges. Here are some tips for troubleshooting common issues that may arise during the propagation process.
Root Rot
Root rot is a common problem that can occur when propagating Philodendron Birkin. It is caused by overwatering or using soil that does not drain well. If you notice that the leaves are wilting or turning yellow, try reducing the amount of water you give to the plant. If the soil is too wet, consider repotting the plant into a well-draining mix.
Pests
Pests can also pose a threat to newly propagated Philodendron Birkin plants. Look out for spider mites, mealybugs, and scale insects, which can all cause damage to the leaves. To prevent infestations, regularly inspect your plants and remove any affected leaves. You can also use insecticidal soap or neem oil to control pests.
Improper Lighting
Philodendron Birkin plants thrive in medium to bright indirect light. If the leaves are turning yellow or brown, your plant may not be getting enough light. Move the plant to a brighter location or provide additional artificial light. On the other hand, if the leaves are turning pale or are bleached, your plant may be getting too much light. Move the plant to a shadier location or provide some shade.
Temperature Fluctuations
Philodendron Birkin plants prefer temperatures between 65 and 80 degrees Fahrenheit. Sudden drops or increases in temperature can cause stress to the plant, resulting in slowed growth or leaf drop. Keep the plant away from drafty areas and avoid placing it near heating or air conditioning vents.
Fertilizer Burn
Fertilizing your newly propagated Philodendron Birkin is important for promoting healthy growth. However, over-fertilization can cause fertilizer burn, which can damage the leaves and roots. Follow the instructions on your fertilizer package carefully and avoid over-fertilizing.
By following these tips and best practices, you can avoid common issues and ensure the successful propagation of your Philodendron Birkin plants.
Transplanting Propagated Philodendron Birkin Plants

Once your Philodendron Birkin cuttings have successfully rooted and developed into plants, it’s time to transplant them into their new home. Here are some tips for ensuring a smooth transplanting process:
Choosing the Right Potting Mix
The potting mix you choose will greatly impact the growth and health of your newly transplanted Philodendron Birkin. Look for a mix that’s well-draining and contains a balanced blend of organic materials such as peat moss, compost, and perlite. Avoid using heavy soils, as they can retain too much moisture and lead to root rot.
Repotting Techniques
When repotting your Philodendron Birkin, choose a pot that’s slightly larger than the current one. Carefully remove the plant from its current container, being gentle with the roots to avoid damaging them. Once removed, loosen any tangled or matted roots, and trim off any dead or brown roots. Gently place the plant into the new pot and fill in with potting mix, leaving about an inch of space at the top to allow for watering.
Acclimating to New Environment
After transplanting, your Philodendron Birkin may experience some shock as it adjusts to its new environment. To help ease this process, place the plant in a shaded area for the first few days, gradually introducing it to brighter light over time. Be sure to also monitor watering carefully, as the roots may not be fully established yet.
By following these tips, you can ensure that your newly propagated Philodendron Birkin plants have a healthy start in their new home. With proper care and maintenance, they will continue to thrive and bring beauty to your indoor space.
Maintaining and Propagating Established Philodendron Birkin Plants
Once you’ve successfully propagated your Philodendron Birkin, it’s important to maintain its health and continue propagating for future growth. Here are some tips for keeping your established plant healthy and creating new growth:
- Pruning: Regularly trimming your Philodendron Birkin will help it maintain its shape and promote new growth. Prune back any yellow or diseased leaves, and trim stems to encourage branching.
- Fertilizing: Fertilizing your Philodendron Birkin every few months will provide it with essential nutrients to support healthy growth. Use a balanced fertilizer or one made specifically for indoor tropical plants.
- Division: As your Philodendron Birkin grows, you can divide it to create new plants. Gently remove the plant from its pot and separate it into smaller sections, making sure each section has its own root system. Plant each section in a new pot with fresh soil and water thoroughly.
With these maintenance practices, your established Philodendron Birkin can continue to thrive and produce beautiful foliage for years to come. Don’t be afraid to experiment with propagating new plants and expanding your indoor garden.
Conclusion
In conclusion, mastering the art of propagating a Philodendron Birkin can bring a plethora of benefits to your indoor garden. Not only is it a cost-effective way to multiply your collection, but it also ensures that all your plants are healthy and thriving.
By understanding the different propagation methods, such as stem cuttings and division, and following the step-by-step guide provided in this article, you can successfully propagate your Philodendron Birkin plants and enjoy their vibrant foliage and unique beauty.
Remember to follow best practices by providing adequate lighting, temperature, humidity, and watering conditions. Avoid common mistakes such as overwatering or using the wrong propagation medium, and troubleshoot any issues that arise during the process.
Now that you have all the information and guidance needed to propagate your Philodendron Birkin plants, it’s time to put your knowledge into practice. Experiment with different propagation methods and find the one that works best for you and your plants. With patience, care, and attention, you’ll be well on your way to a flourishing indoor garden filled with beautiful Philodendron Birkin plants.